Integrating React, Vite and Django
Posted on 12 Apr 2025

A simple but not obvious solution
Sometimes, it seems that if you know how to use different technologies, you should be able to easily combine them into a single project, right? Well, that’s not true. Just think about it—most of the "tools" out there have very opinionated ideas about how things should work, and people write tutorials following those conventions. That’s not a bad thing; in fact, in the case of React, it’s perfectly fine if you’re working with a full stack built entirely in JavaScript
But what about those people who are not developing a full-stack JavaScript project? What happens if the frontend tool you want to integrate doesn’t come with a ready-made integration or, even worse, doesn’t have an easy-to-follow recommendation for how to integrate it with your backend?
Yep, I know how does it feel. But don't worry, you are not alone. Always will be people with the will of help. I'm talking about django-vite.
django-vite es una solución para integrar Vite fácilmente con Django y, en consecuencia, puedes usar React (y cualquier otro framework compatible con Vite) en un proyecto Django.
Si bien django-vite es fácil de implementar, la documentación de la app no es tan clara, especialmente si estás comenzando en el desarrollo web. Esta publicación es un paso a paso para realizar esa integración. Podría ser mucho más corta, pero decidí incluir todo el proceso pensando en cómo me habría gustado tener este tutorial hace un par de años.
Tutorial structure
- Creating a Django project
- Creating a React app using Vite
- Interesting Vite (and React) in Django
It is very likely that you won't need the first two sections, but I recommend giving them a quick look to understand the structure of the project. If you're using Mac or Linux, you can copy and paste the commands into the terminal to follow along with the post.
🚀 Long live the Linux! 🐧
Before getting started.
I will assume that you have a basic knowledge of Python, Django, and React.
I will also assume that you have the following programs installed on your computer:
- Python
- Pip
- Node
Creating the Django Project
It is good practice to always create a virtual environment, although in this case, it is not mandatory.
We open the terminal, navigate to the folder where we store our projects, create a new folder for this project, and access it.
mkdir /home/$USER/code/django-react-vite && cd /home/$USER/code/django-react-vite
python -m venv env && source env/bin/activate
We install Django:
pip install django
We create the Django project and name it myproject:
django-admin startproject myproject
We enter the project folder and create the application, naming it myapp:
cd myproject && django-admin startapp myapp
We add the myapp application to INSTALLED_APPS:
# myproject/settings.py
INSTALLED_APPS = [
    "django.contrib.admin",
    "django.contrib.auth",
    "django.contrib.contenttypes",
    "django.contrib.sessions",
    "django.contrib.messages",
    "django.contrib.staticfiles",
    "myapp",
]
We include the application's routes in the project's routes:
# myproject/urls.py
from django.contrib import admin
from django.urls import path, include

urlpatterns = [
    path("admin/", admin.site.urls),
    path("", include("myapp.urls")),
]
Creating the view and the template
We create a function to handle the test view:
# myapp/views.py
from django.shortcuts import render

def react_template(request):
    return render(request, "myapp/react_template.html")
We create the template following the structure recommended by Django:
mkdir -p myapp/templates/myapp && touch myapp/templates/myapp/react_template.html
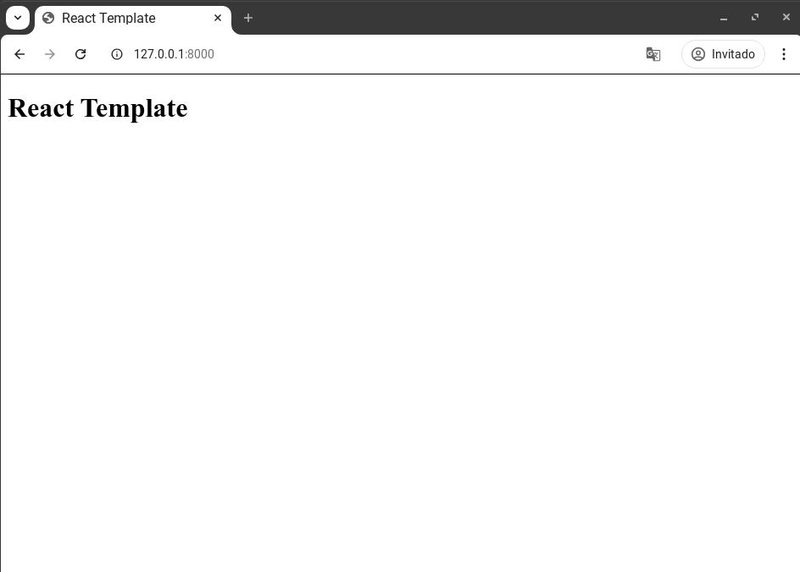
We add the following content to the react_template.html file:
<!DOCTYPE html>
<html lang="en">
<head>
    <meta charset="UTF-8">
    <meta name="viewport" content="width=device-width, initial-scale=1.0">
    <title>React Template</title>
</head>
<body>
    <h1>React Template</h1>
    <div id="root"></div>
</body>
</html>
We create the urls.py file.
touch myapp/urls.py
We add a route for the function created earlier:
# myapp/urls.py
from django.urls import path, include
from . import views

urlpatterns = [
    path("", views.react_template),
]
Running the server
At this point, we can test our Django application. We should be at the same level as the manage.py file. We run the following command:
python manage.py runserver
As we mentioned at the beginning, if you are already familiar with Django, this part will likely seem familiar to you. Nothing out of the ordinary, and that’s exactly the point.
Before continuing with the creation of the React application, let's take a look at the current file structure:
django-react-vite
└── myproject
    ├── db.sqlite3
    ├── manage.py
    ├── myapp
    │   ├── admin.py
    │   ├── apps.py
    │   ├── __init__.py
    │   ├── migrations
    │   │   ├── __init__.py
    │   │   └── __pycache__
    │   ├── models.py
    │   ├── templates
    │   │   └── myapp
    │   │       └── react_template.html
    │   ├── tests.py
    │   ├── urls.py
    │   └── views.py
    └── myproject
        ├── asgi.py
        ├── __init__.py
        ├── __pycache__
        ├── settings.py
        ├── urls.py
        └── wsgi.py
Creating the React Application
Now it's time to create the React application. We open a new terminal and navigate to the root folder of the project, django-react-vite.
cd /home/$USER/code/django-react-vite
Here, we will create the React project using Vite:
npm create vite@latest
For this integration, we have named the project reactland, although the name doesn’t really matter.
- During the installation process, we select React as the framework.
- Then, Vite will ask us to choose a variant. We can select the one we prefer; in this case, we have chosen JavaScript.
Next, we initialize the project with the commands provided by Vite:
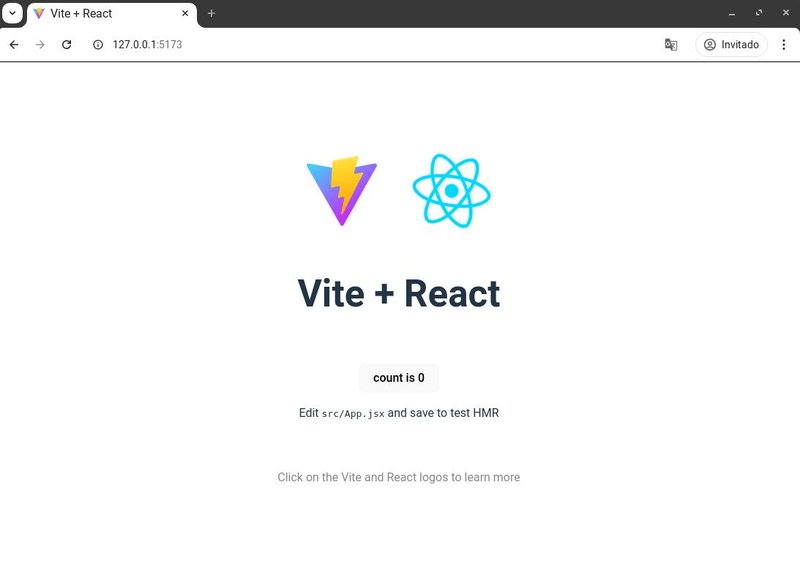
cd reactland
npm install
npm run dev
We can view the React application by opening the browser at http://127.0.0.1:5173.
From this point on, we won't be adding more files manually. The file structure is defined, and we will proceed with the integration between Django and React. You can take a look at it.
django-react-vite
├── myproject
│   ├── db.sqlite3
│   ├── manage.py
│   ├── myapp
│   │   ├── admin.py
│   │   ├── apps.py
│   │   ├── __init__.py
│   │   ├── migrations
│   │   └── __init__.py
│   │   ├── models.py
│   │   ├── templates
│   │   │   └── myapp
│   │   │       └── react_template.html
│   │   ├── tests.py
│   │   ├── urls.py
│   │   └── views.py
│   └── myproject
│       ├── asgi.py
│       ├── __init__.py
│       ├── settings.py
│       ├── urls.py
│       └── wsgi.py
└── reactland
    ├── eslint.config.js
    ├── index.html
    ├── package.json
    ├── package-lock.json
    ├── public
    │   └── vite.svg
    ├── README.md
    ├── src
    │   ├── App.css
    │   ├── App.jsx
    │   ├── assets
    │   │   └── react.svg
    │   ├── index.css
    │   └── main.jsx
    └── vite.config.js
Integrating Django and React
Finally, we've reached the most interesting part: the integration between Django and React.
For this stage, we will need to run both the Django development server and Vite in parallel. Therefore, we should open two terminals and make sure that one of them has the Python virtual environment activated.
Installing django-vite
In the first terminal, we stop the Django development server if it is running and proceed to install django-vite.
pip install django-vite
Now, we add the django-vite configuration in the settings.py file:
# myproject/settings.py
INSTALLED_APPS = [
    "django.contrib.admin",
    "django.contrib.auth",
    "django.contrib.contenttypes",
    "django.contrib.sessions",
    "django.contrib.messages",
    "django.contrib.staticfiles",
    "myapp",
    "django_vite", # new
]

DJANGO_VITE = {
  "default": {
    "dev_mode": DEBUG
  }
}
We will also add the configuration to serve the compiled React files. This is something we won't use until the end of this tutorial.
STATICFILES_DIRS = [
  BASE_DIR / "assets"
]
STATIC_ROOT = "static/" # for collect static
Configuring the Template in Django
We edit the react_template.html file inside templates/myapp/ to include the django-vite tags.
{% load django_vite %}
<!DOCTYPE html>
<html lang="en">
<head>
    <meta charset="UTF-8">
    <meta name="viewport" content="width=device-width, initial-scale=1.0">
    <title>React Template</title>
    {% vite_hmr_client %}
</head>
<body>
    <h1>React Template</h1>
    <div id="root"></div>

    {% vite_react_refresh %}
    {% vite_asset 'src/main.jsx' %}
</body>
</html>
Running Django and Checking for Errors
We’re almost ready. Now we can start the Django server again:
python manage.py runserver
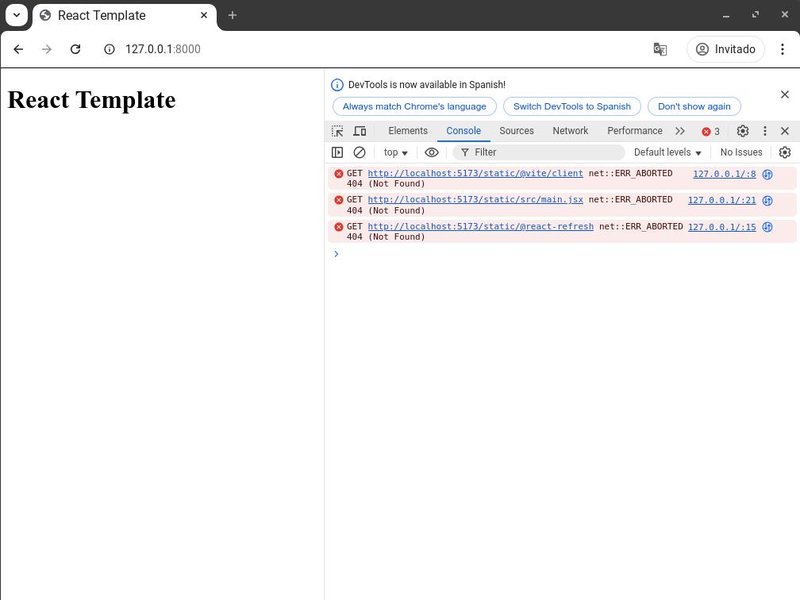
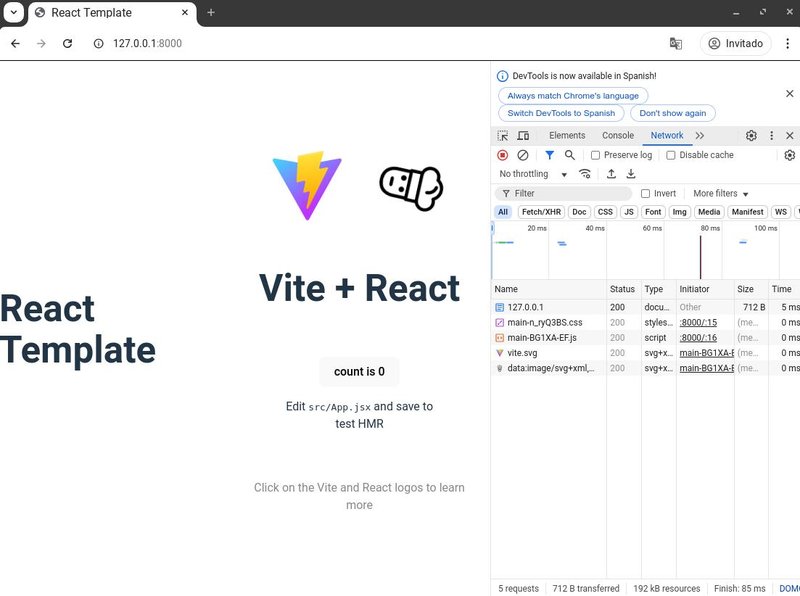
If we open our browser at http://127.0.0.1:8000 and check the developer console, we will see that the django-vite tags are trying to load the files from the Vite server, but with a small difference: they are looking for the files inside the static/ folder.
This happens because static/ is the value of STATIC_URL, and to fix this, we need to edit the Vite configuration.
Configuring vite.config.js
We open the file django-react-vite/reactland/vite.config.js and edit it as follows:
// vite.config.js
import path from 'path'
import { defineConfig } from 'vite'
import react from '@vitejs/plugin-react'

// https://vite.dev/config/
export default defineConfig({
  plugins: [react()],
  base: "/static/",
  build: {
    manifest: "manifest.json",
    outDir: path.join(path.dirname(__dirname), "myproject", "assets"),
    rollupOptions: {
      input: {
        main: path.resolve('./src/main.jsx'),
      }
    }
  }
})
With this configuration:
- base: It matches STATIC_URL, which solves the issue of loading files.
- outDir: Points to the "assets" folder, the same one we included in STATICFILES_DIRS. This will be useful when running the Django collectstatic command.
- rollupOptions: Defines the entry point of the React application.
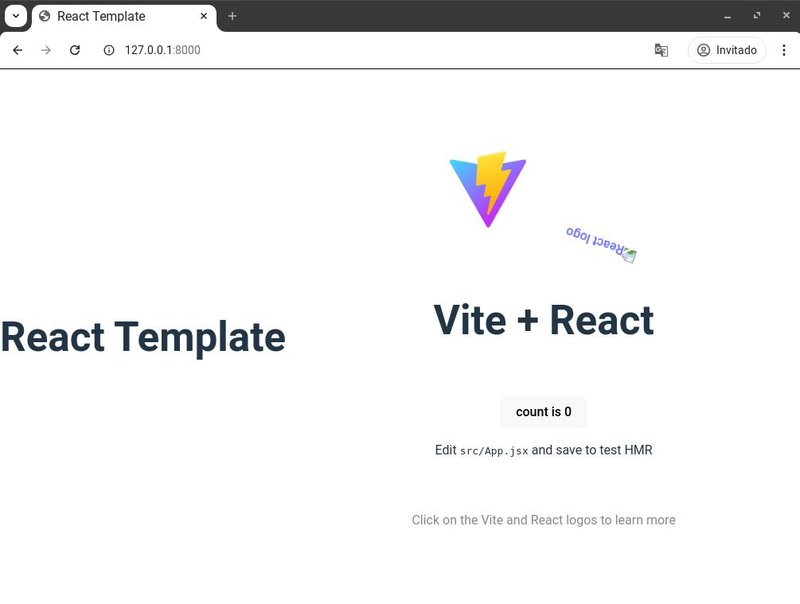
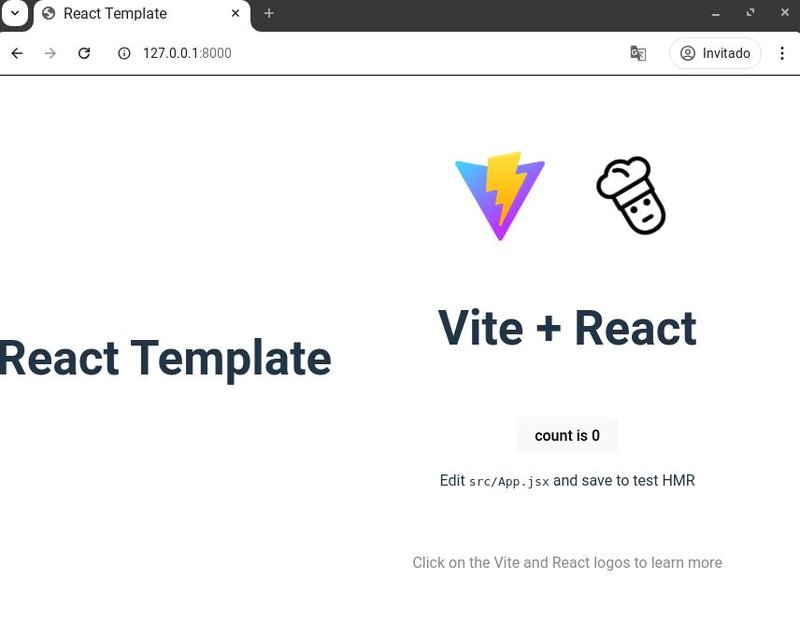
Now, you’ve probably noticed that there’s a "broken" link. To be totally honest, I’m not sure why this happens specifically with the React svg. You can try placing another file in the same location as this svg, and it will be served without issues.
import { useState } from 'react'
// import reactLogo from './assets/react.svg'
import chefLogo from './assets/chef.svg'
import viteLogo from '/vite.svg'
import './App.css'

function App() {
  const [count, setCount] = useState(0)

  return (
        <>
            . . .
            <a href="https://vite.dev" target="_blank">
                <img src={viteLogo} className="logo" alt="Vite logo" />
            </a>
            <a href="https://react.dev" target="_blank">
                <img src={chefLogo} className="logo react" alt="React logo" />
            </a>
             . . .
        </>
    )
}
With this, our integration is complete.
Production
When deploying our project, it is important to ensure that the files of our React application are properly compiled and ready to be served by Django. To achieve this, we first run the following command in the terminal inside the frontend folder:
npm run build
This will generate an optimized version of our application in the folder configured in vite.config.js. Then, in Django, we need to collect the static files so they can be served correctly in production:
python manage.py collectstatic
To simulate a production environment without changing the configuration too much, we will simply adjust the variable that indicates whether Django should serve the files directly from the Vite development server or from the static files folder.
DJANGO_VITE = {
  "default": {
    "dev_mode": False
  }
}
With this change, Django will now serve the React files like any other static resource, allowing the integration to work without relying on the Vite development server.
If you’ve made it this far, I want to congratulate you on completing the integration of Django with React using Vite. I hope this process has been clear and useful for future projects. If you have any questions, suggestions, or simply want to share your experience, I’d be happy to hear from you. You can use the contact form. Have a great time coding, and best of luck with your projects! 🚀